Introduction
Are you looking to tackle a roof shingling project? Roof shingling is a crucial aspect of maintaining the integrity of your home’s structure. In this guide, we will walk you through the process of shingling a roof, step by step.
Materials and Tools Needed
Before starting the project, gather the necessary materials and tools:
– Roofing shingles
– Roofing nails
– Roofing felt
– Drip edge
– Flashing
– Roofing adhesive
– Hammer
– Roofing nails
– Utility knife
– Tape measure
Step 1: Prepare the Roof
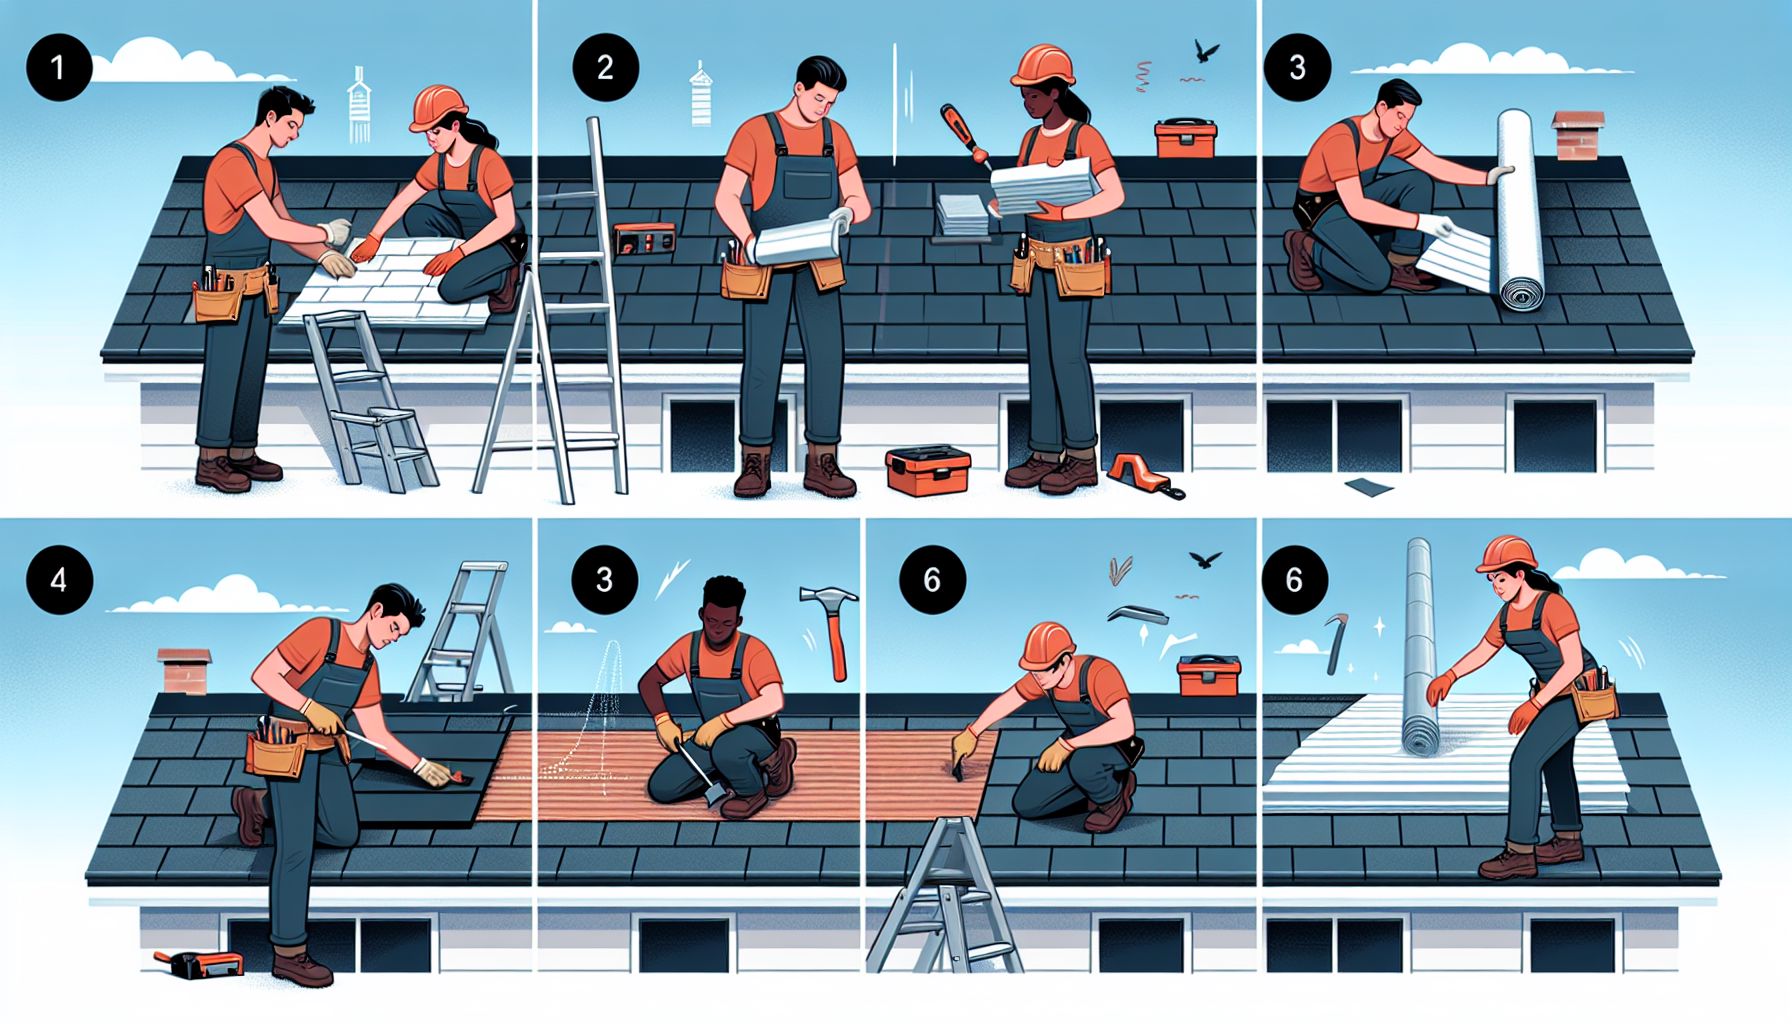
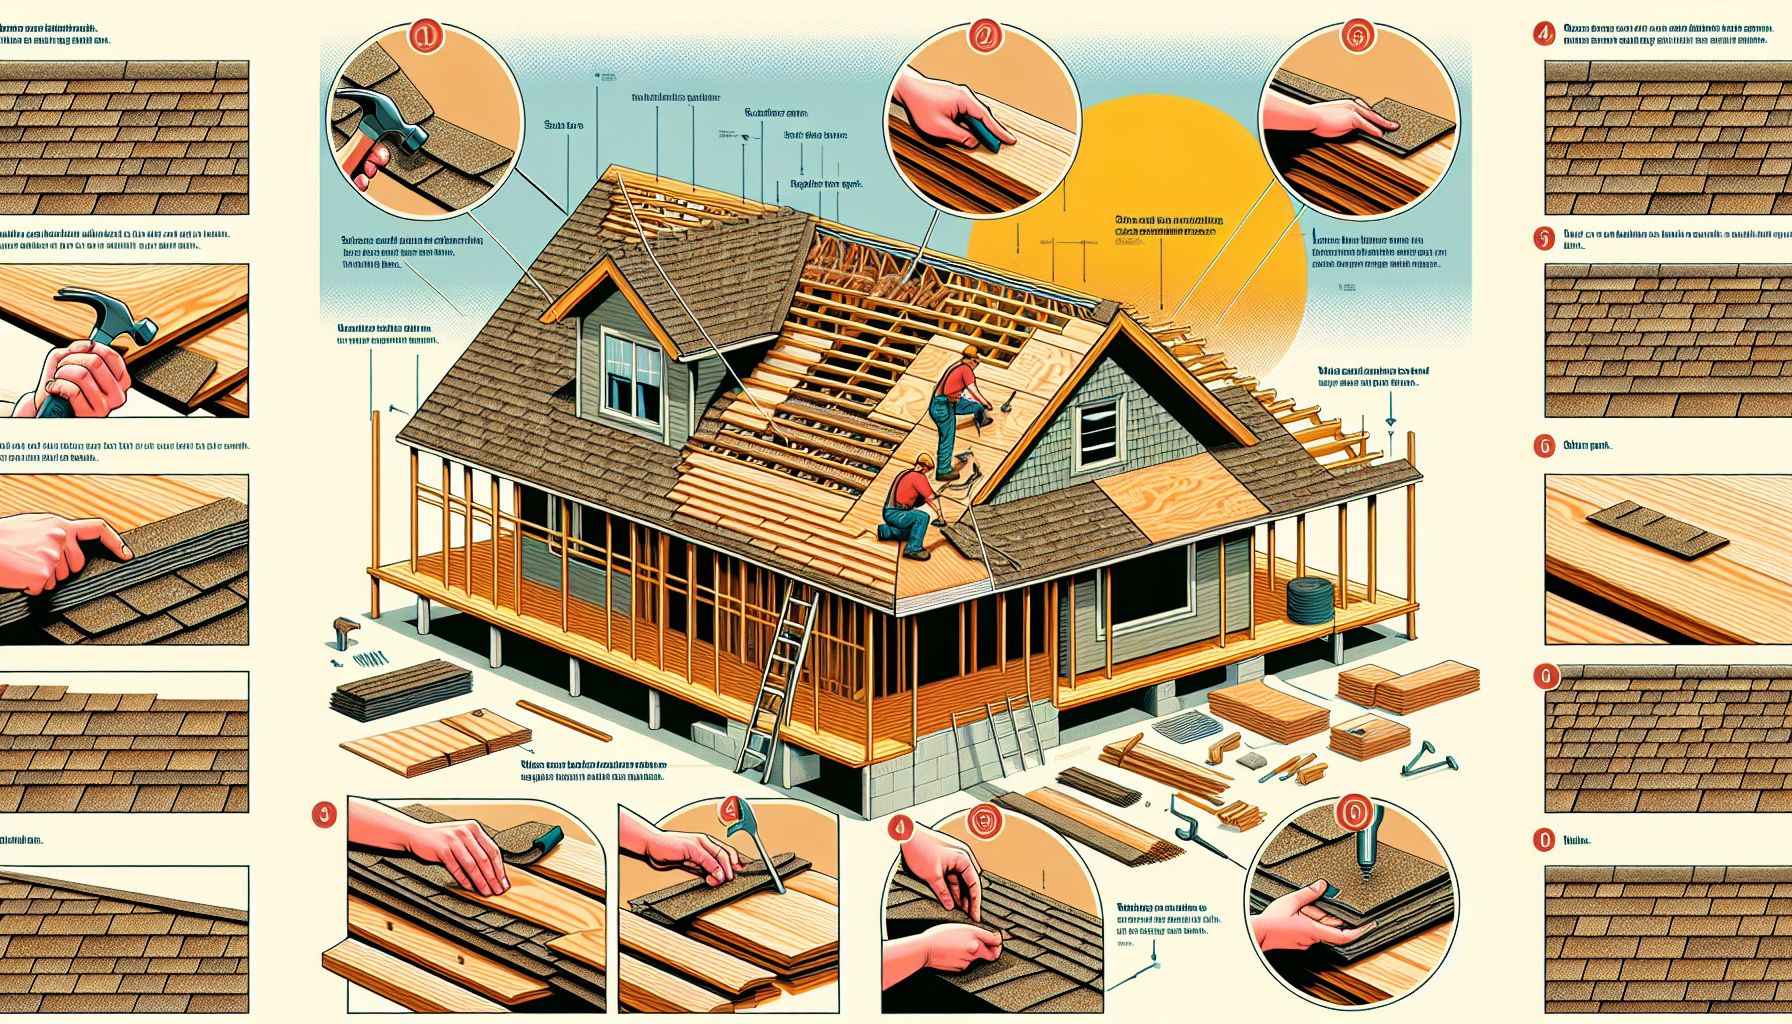
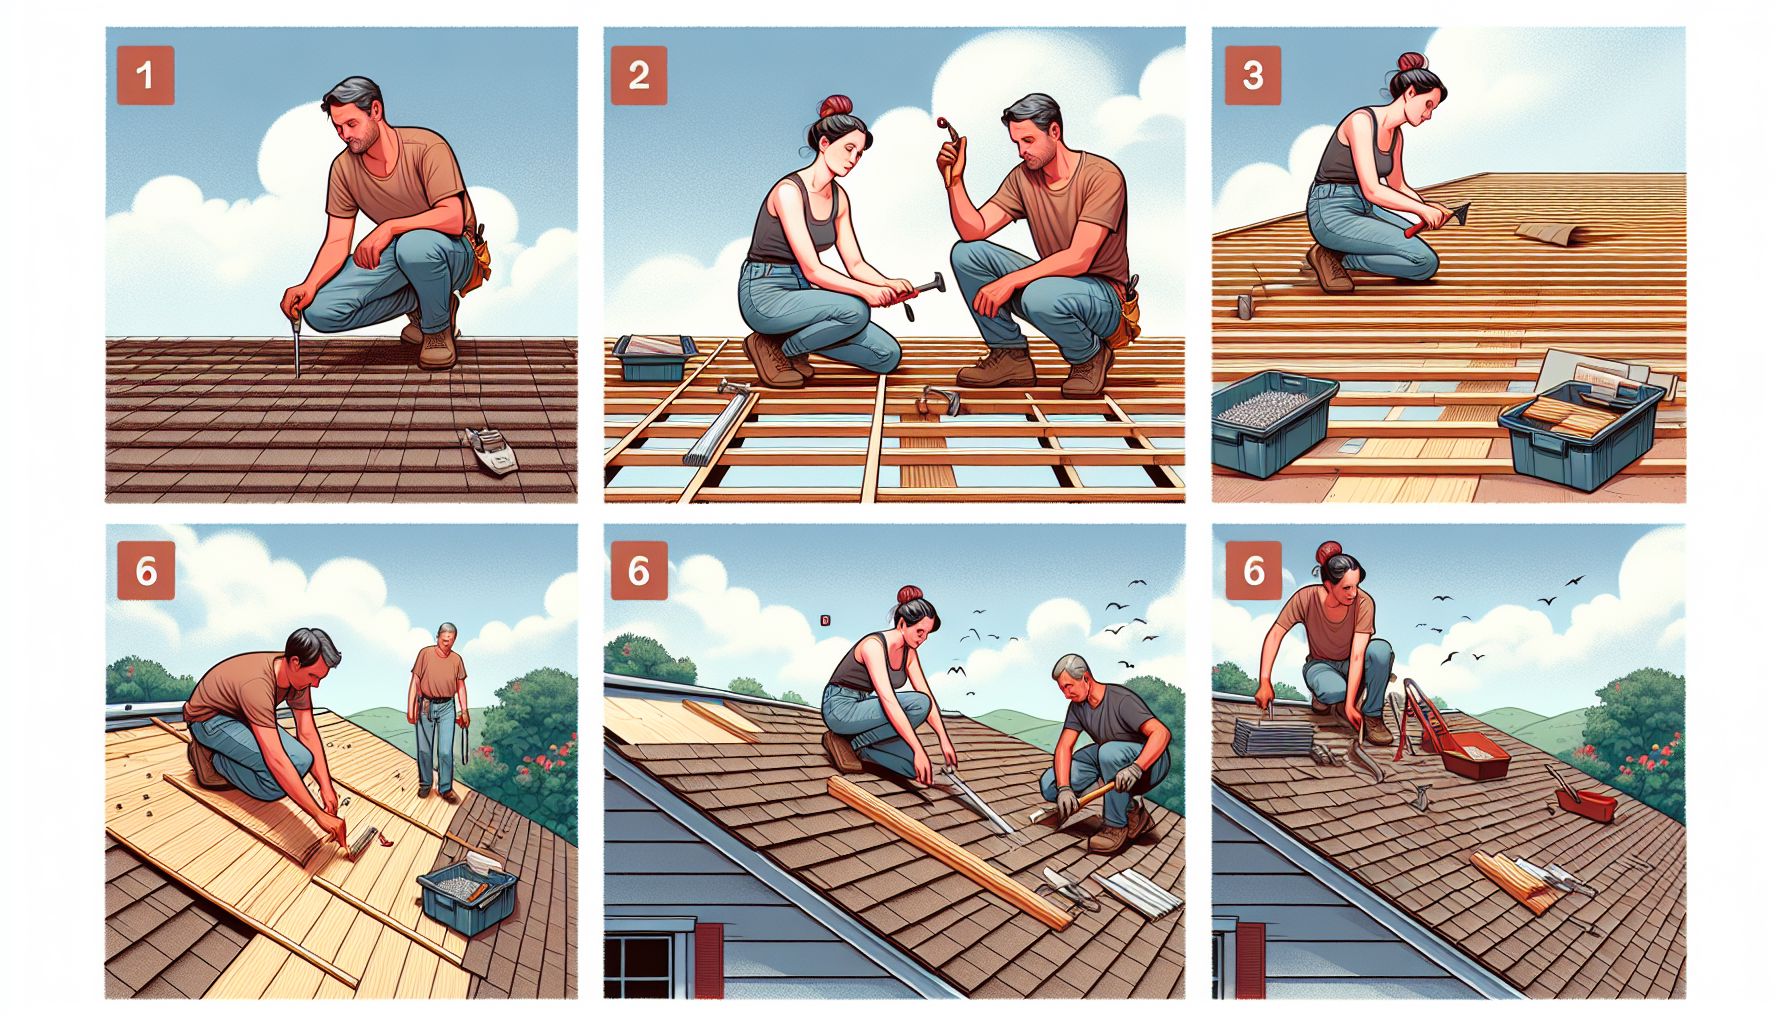
Start by ensuring the roof is clean and free of any debris. Install a drip edge along the edge of the roof to prevent water damage.
Step 2: Install the Roofing Felt
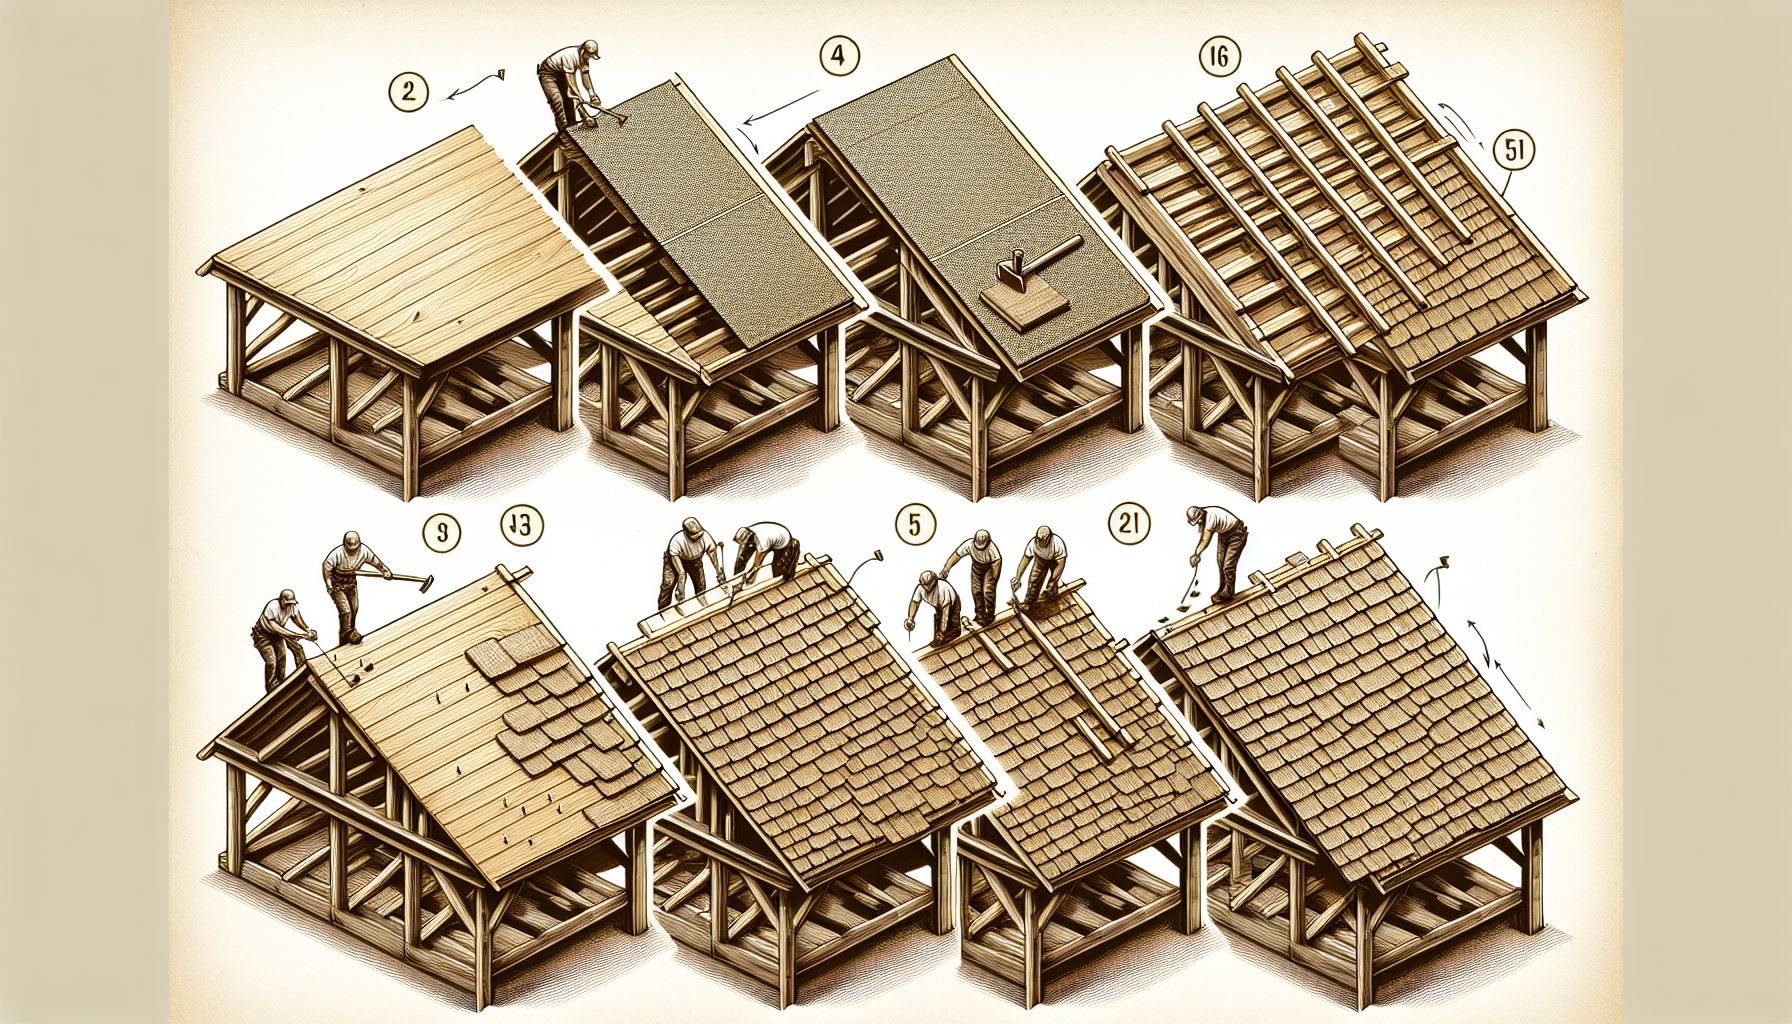
Lay down roofing felt over the entire roof surface, overlapping each row to create a waterproof barrier.
Step 3: Begin Shingling
Starting at the bottom edge of the roof, begin laying the shingles in rows, staggering each row to ensure proper coverage. Nail each shingle in place using roofing nails.
Step 4: Add Flashing
Install flashing around any roof openings or intersections to prevent water leakage.
Step 5: Finish the Ridge
Once the main portion of the roof is shingled, finish the ridge by cutting and installing shingles along the peak of the roof.
Pros and Cons of Shingling a Roof
Pros:
- Adds an aesthetic appeal to your home
- Provides protection against the elements
- Increases the value of your property
Cons:
- Can be time-consuming
- Requires manual labor
- May need periodic maintenance
For more information on roofing, check out This Old House.
To get inspired for your roof shingling project, visit Bob Vila for different types of roofing shingles.
Explore more about roofing techniques at Home Interior Design Ideas.