Building a dog house can be a simple and rewarding project. You can protect your dog from weather and give it a cozy space. This article explains clear steps to build a dog house. The language is simple and the instructions are easy to follow.
Materials and Tools Needed
Before starting, gather all materials and tools. This saves time and avoids delays.
Materials:
- Plywood sheets (approximately 3/4 inch thick)
- 2×4 lumber for framing
- Waterproof outdoor paint or stain
- Roofing material (asphalt shingles or metal roofing)
- Nails and screws
- Hinges (for an optional roof hatch)
- Weather stripping or foam for sealing
- Sandpaper
Tools:
- Hammer or nail gun
- Power drill with bits
- Saw (circular or handsaw)
- Measuring tape
- Square tool
- Pencil
- Paintbrush
Planning the Size
Measure your dog to decide the size of the dog house. The house should be large enough for your dog to stand, turn around, and lie down comfortably. Add a few inches to your dog’s length and height to get the inside dimensions. This design ensures comfort and avoids wasting materials.
Typical dimensions for a medium dog are around 36 inches long, 24 inches wide, and 24 inches high. Adjust if your dog is smaller or larger.
Building the Base
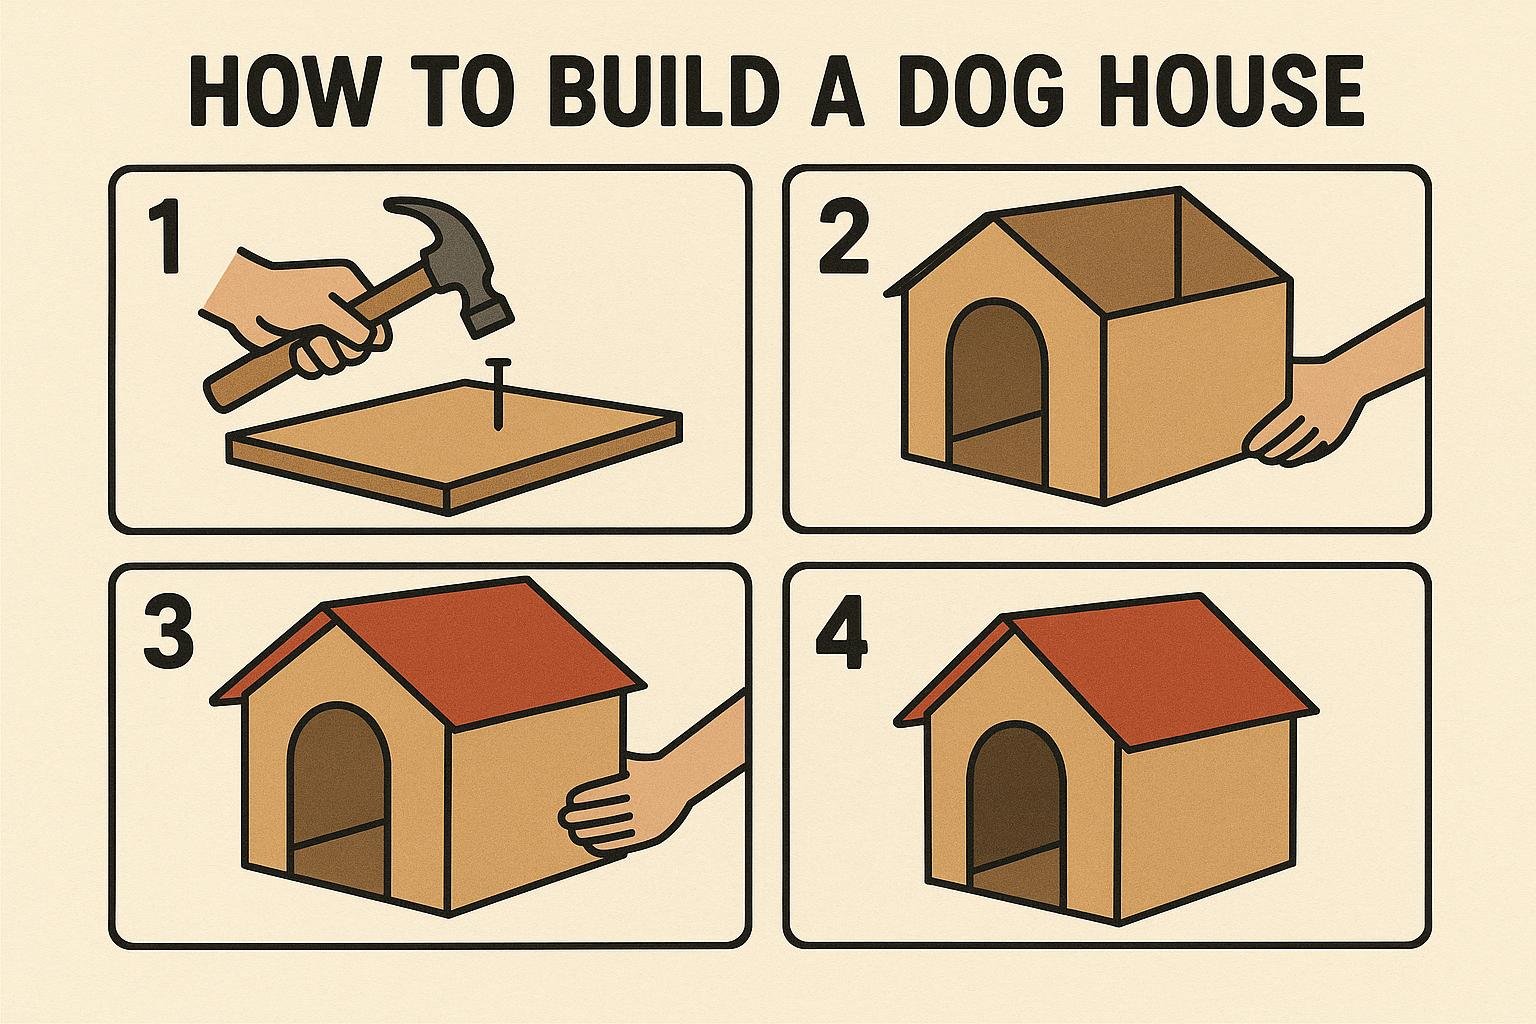
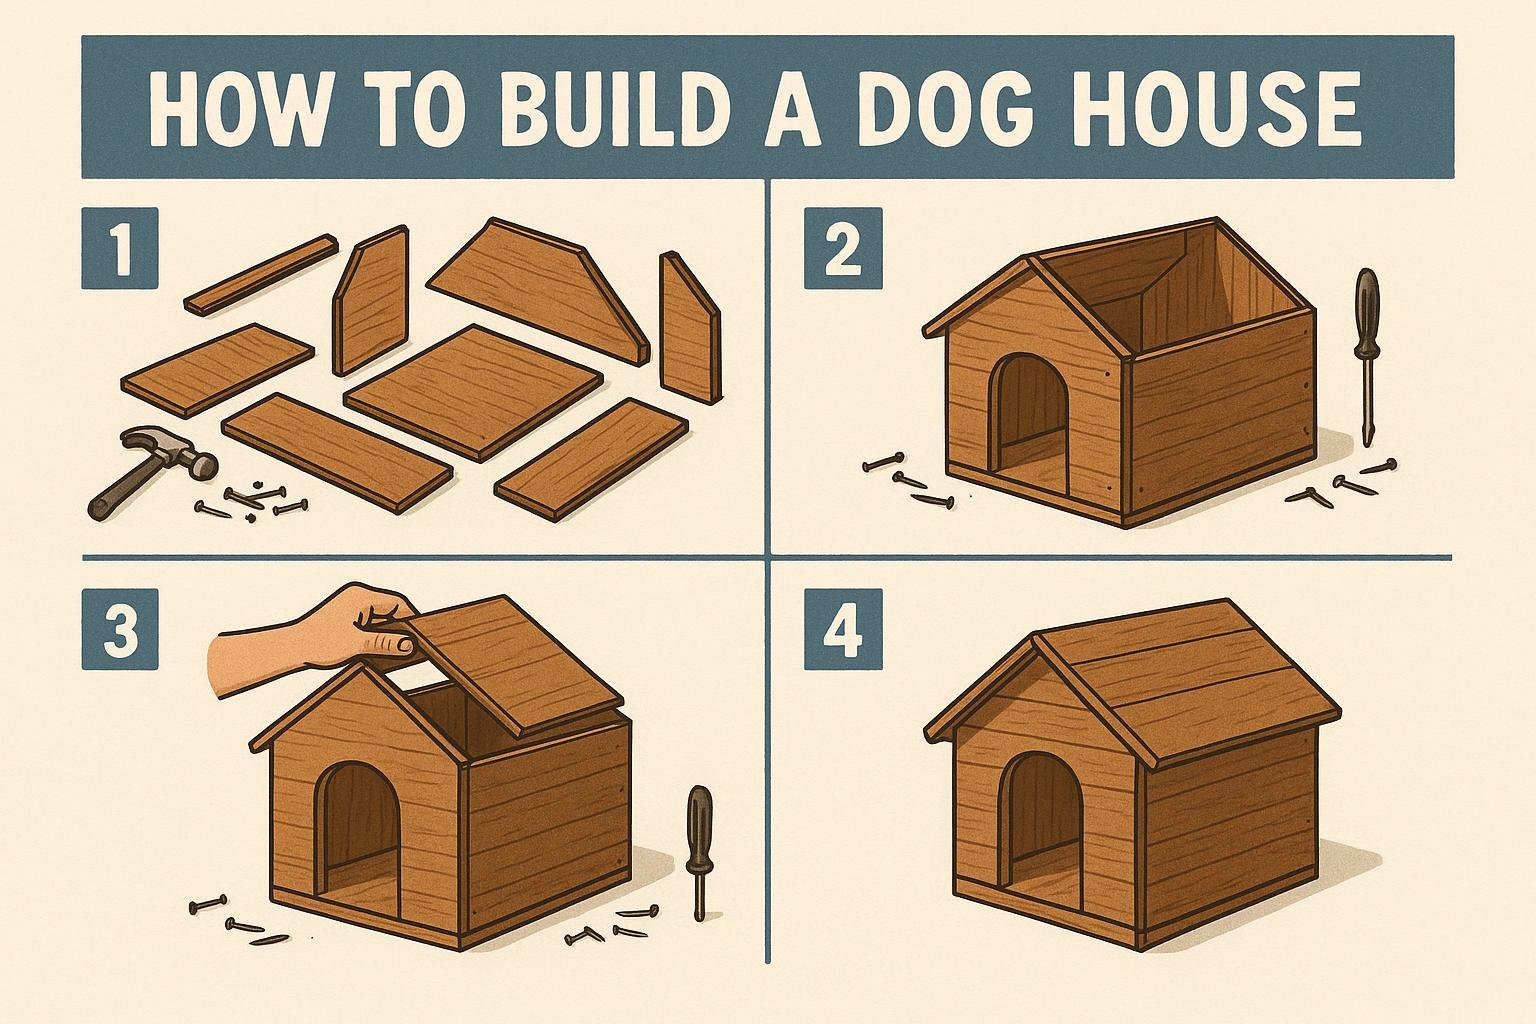
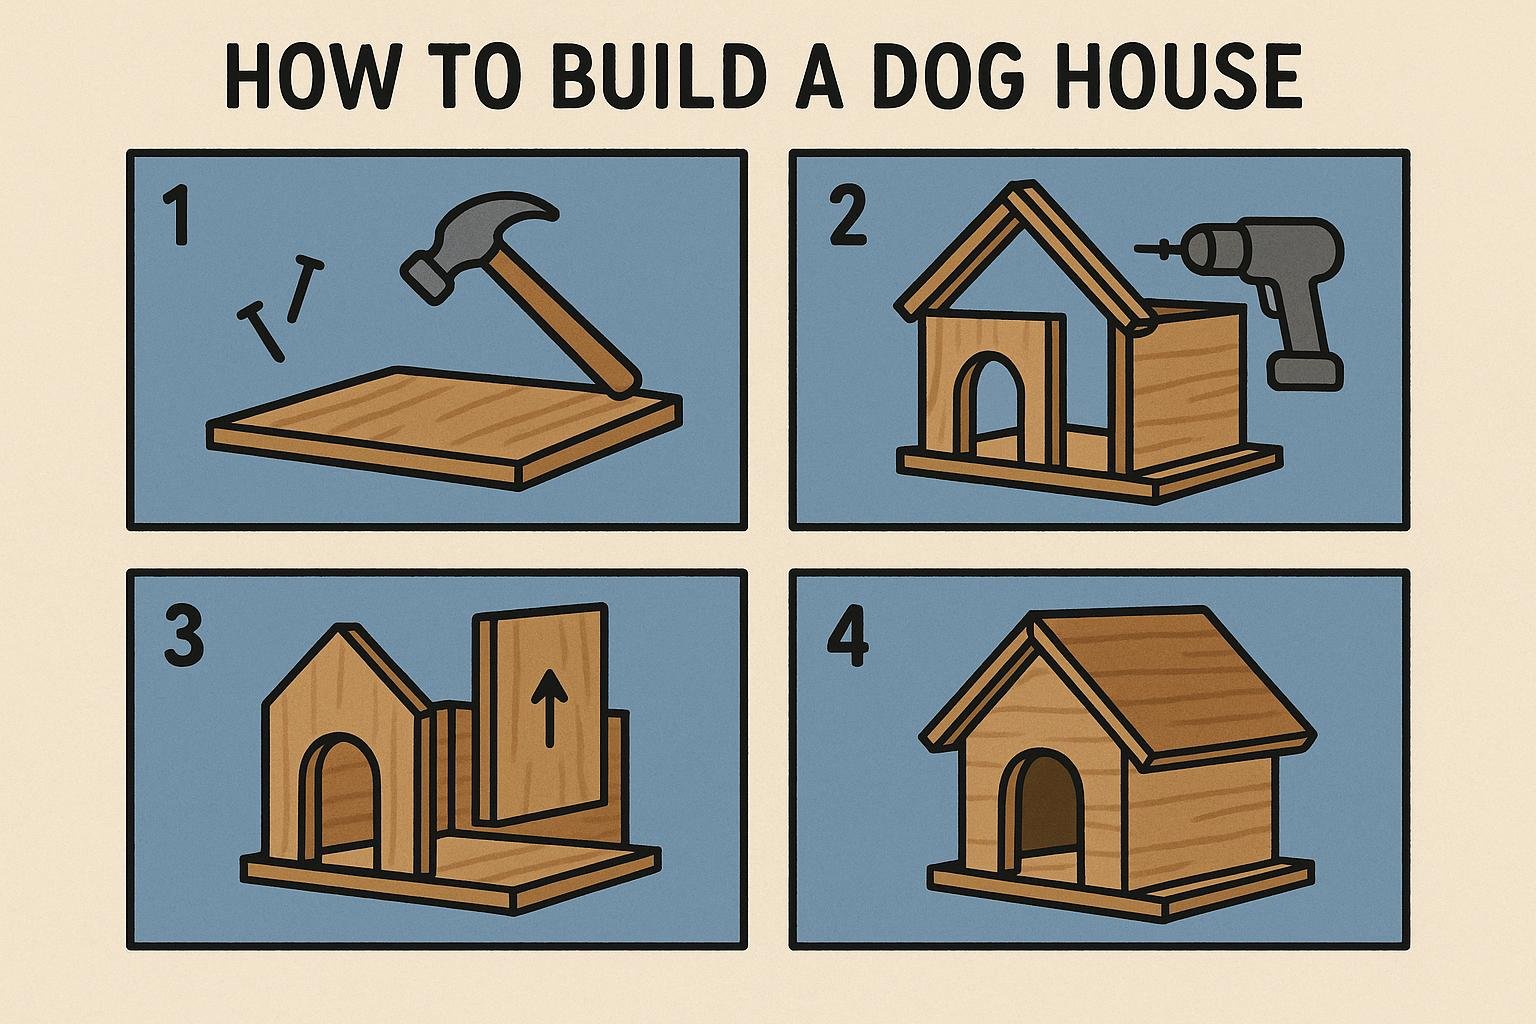
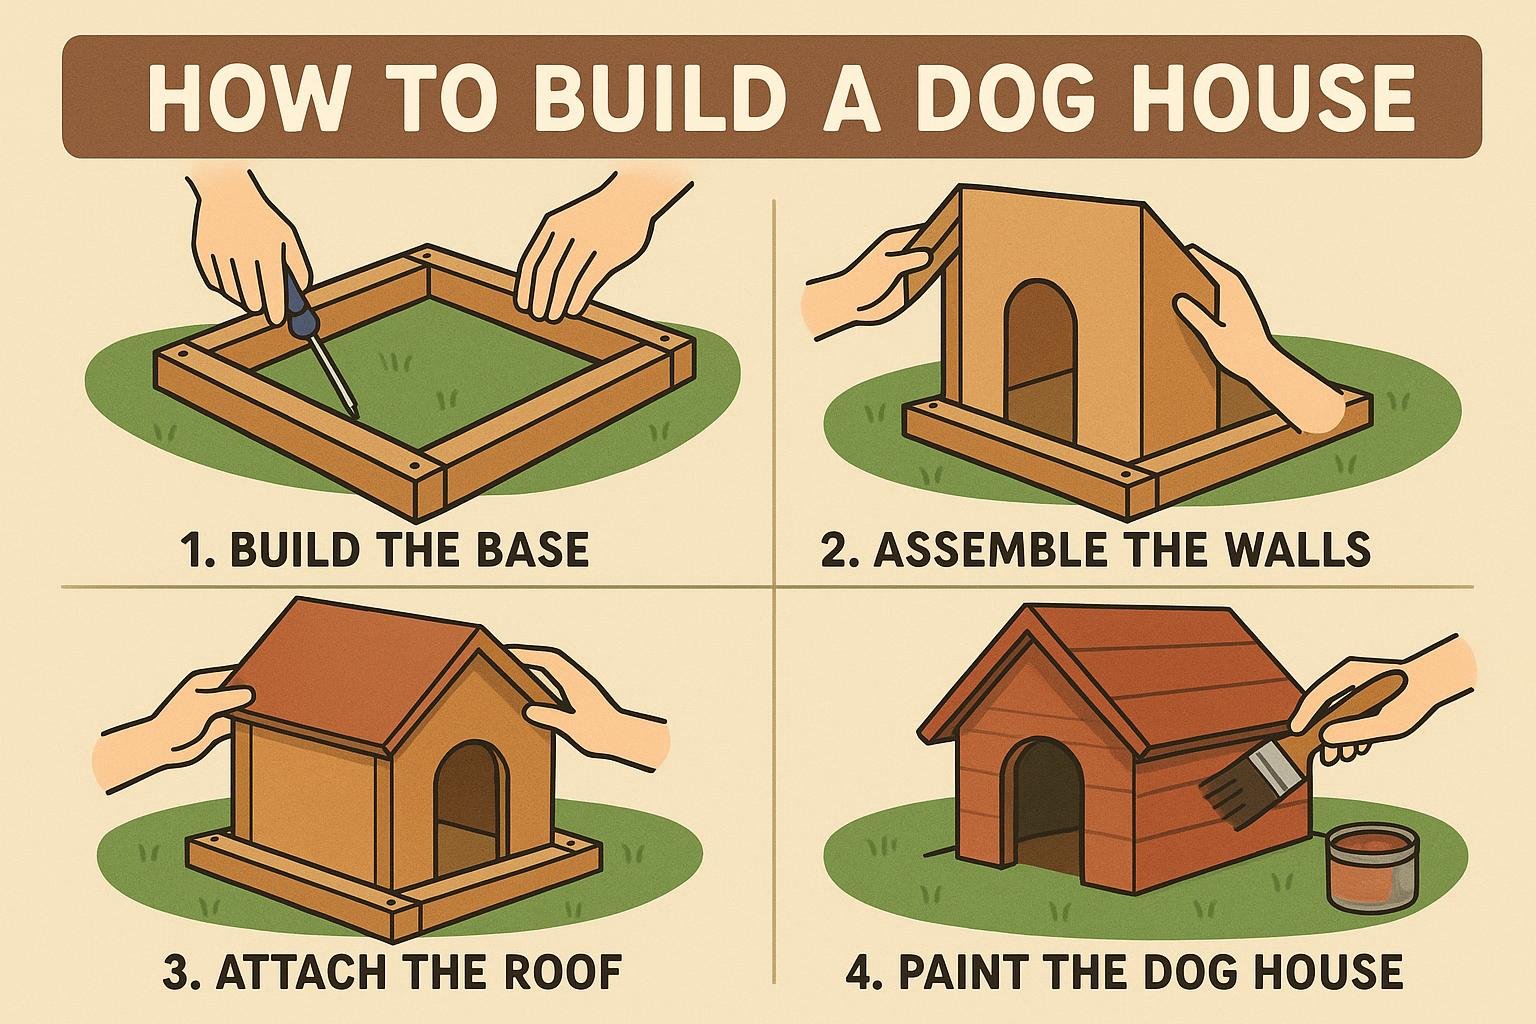
The base supports the entire dog house and keeps it off the ground. Use 2×4 lumber to create a rectangular frame matching your planned floor size.
- Cut four pieces of 2×4 lumber to make the frame.
- Join the pieces with screws or nails to form a rectangle.
- Cut a plywood sheet the same size as the frame for the floor.
- Attach the plywood to the frame using screws.
Elevate the base slightly from the ground. You can add small legs or blocks at the corners. This helps prevent water damage.
Constructing the Walls
Cut plywood sheets for the walls using the base dimensions. The front wall requires a door opening for your dog.
- Mark and cut a door on the front wall panel. The door should be about 75% of your dog’s height and wide enough for easy access.
- Cut the other three walls according to base measurements.
- Nail or screw the walls to the base frame, standing them upright.
Use 2×4 lumber inside the walls at corners to strengthen the structure.
Installing the Roof
The roof protects the dog from rain and sun. You can use a flat or slanted roof design. A slanted roof helps water to run off.
To build the roof:
- Cut two plywood panels wider than the walls.
- Join them at an angle to create the slope.
- Attach roofing material such as asphalt shingles or metal sheets.
- Fix the roof to the top edges of the walls.
Optionally, attach hinges to one side for a roof hatch. This makes cleaning inside easier.
Finishing Touches
Smooth all rough edges with sandpaper. Paint or stain the dog house with waterproof outdoor paint. This adds protection and improves appearance. Use non-toxic paint safe for pets.
Add weather stripping or foam around the door to block drafts. You can also add a flap door for extra warmth.
Place straw or a soft bed inside to make the dog comfortable.
Pros and Cons of Building Your Own Dog House
Pros:
- You control the size and design.
- Materials can be chosen for durability and safety.
- It can be a cost-effective solution.
- Provides a personal touch to your pet’s space.
Cons:
- Requires some tools and basic carpentry skills.
- Takes time compared to buying a ready-made house.
- Needs regular maintenance, especially if made from wood.
Tips for a Better Dog House
- Choose treated wood or quality waterproof materials.
- Add insulation for cold climates using foam boards inside walls.
- Position the house in a shaded area to keep it cool in summer.
- Keep the entrance away from prevailing winds.
- Check for splinters or sharp edges before your dog uses it.
Related Resources
For more detailed plans and ideas, visit these trusted sites:
- American Kennel Club – Building a Dog House
- DIY Network – Dog House Plans
- The Spruce Pets – How to Build a Dog House
For a step-by-step detailed guide, check this useful resource on how to build a dog house.
Building a dog house is simple if you follow clear steps and use quality materials. Your dog will have a safe, dry, and comfortable place to rest. Enjoy your project!